 Dansk
Dansk
 Deutsch
 Español
 Français
 Italiano
 Norsk
Norsk
 Polski
 Português
 Suomi
Suomi
 Svenska
How does the audience selector work?
Art. no. 216070215

You can create target groups for different languages, currencies and delivery countries for visitors to choose from. Previously there were different language and currency options in the stores, but now we've built a new updated version. This means that as a store owner you can create different target groups and pre-define language, currency, price display with or without VAT and delivery country, and for example customers can see how much they have left for free shipping regardless of which delivery country they are shipping to.
Why should I use the audience selector?
There are many ways to use this function.
If your store delivers to different parts of the world, you can create different audiences for different countries, for example. For example, you can create a target group for the USA where you set English as the language, USD as the currency, display the price excluding VAT and the country of delivery USA.
If you only sell within Sweden, you can create two target groups, for example, one for private customers showing prices incl. VAT and one for business customers showing prices excl. VAT.
Example of how the target group selector can look like in minimized mode. Only language and currency are shown here.

Example of how the target selector can look in unfolded mode. When the customer clicks on the targeting selector, it unfolds and they can modify the settings for language, country of delivery, currency and VAT as they wish.

Settings in the theme
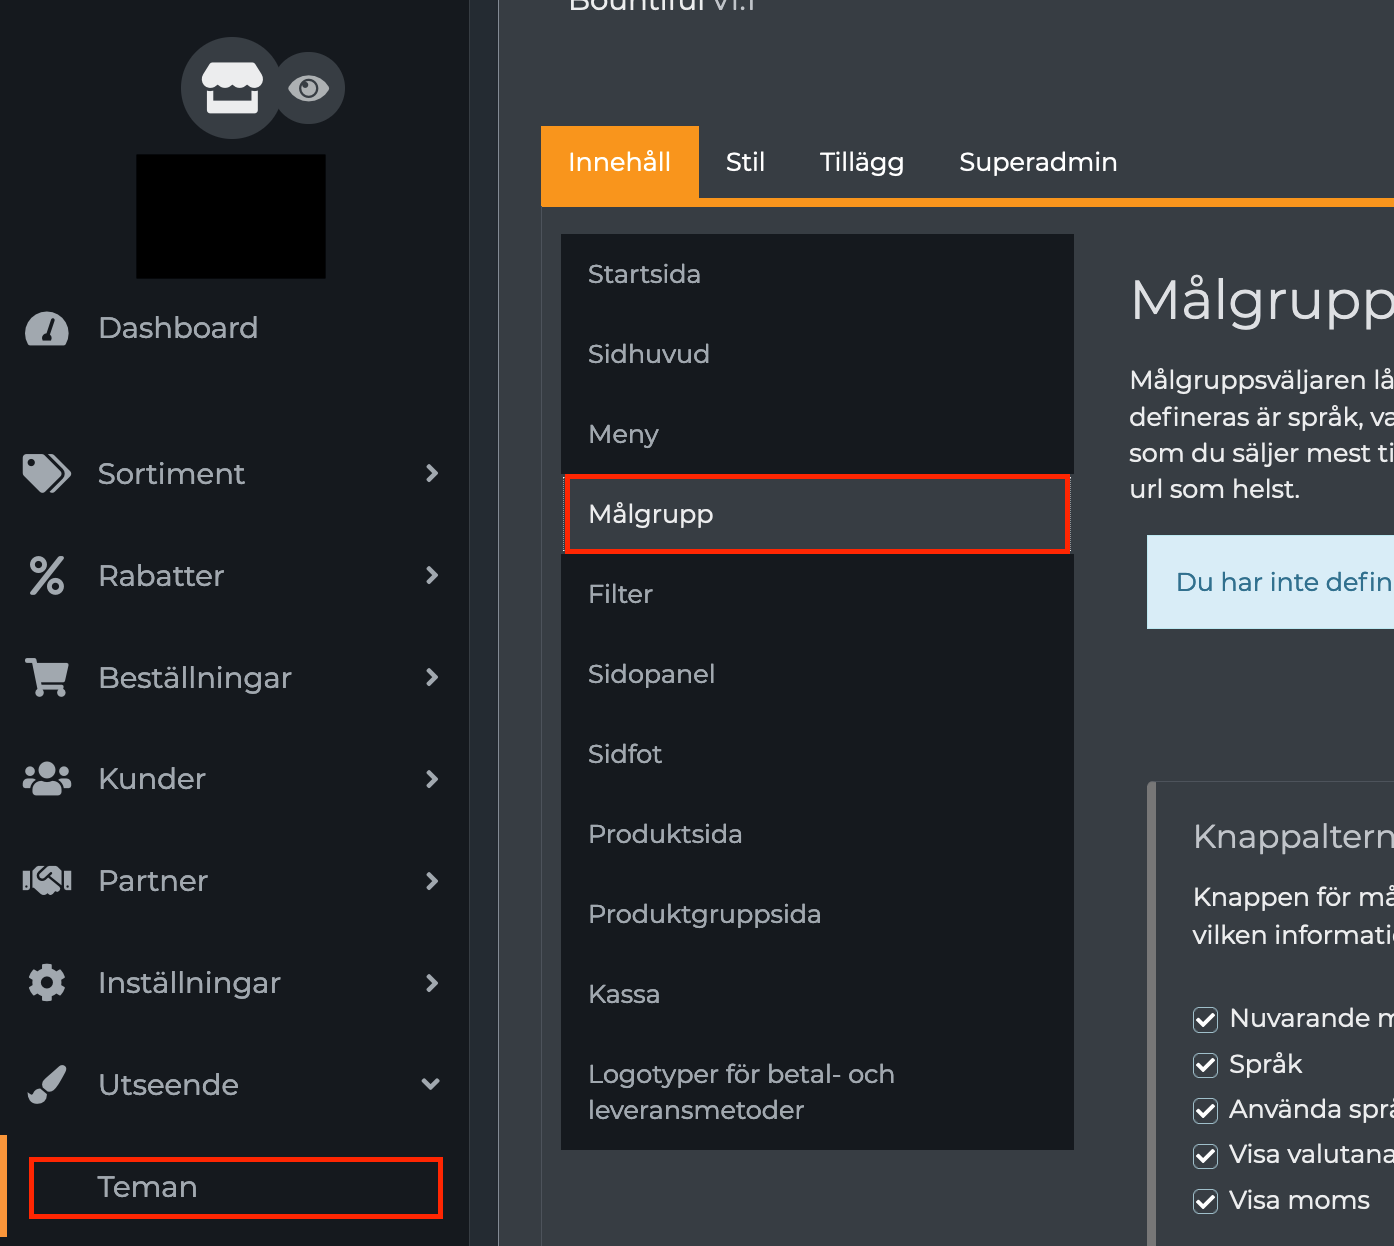
Under Appearance -> Themes -> select theme, edit -> Content -> Audiences.
There are two buttons, Add External Link and Add Audience, and two blocks, Button Options and Show Selection.
Button options
Choose what information to display in the audience selector. Current target group name, Language, Use the full name of the language instead of the 2-character code, Show currency name and Show VAT. You simply choose which options to display. In the picture above, only Language and Show Currency Name are selected.
Show options
You can choose whether customers should only see your predefined target groups or whether they can change individual settings themselves.
Create a target group
Go to Design -> Themes -> select theme, edit -> Content -> Audiences and click on the Add new audience button. There are several different fields here:
Name
Enter a name for the target group, for example "Sweden", "Private person - Sweden" or similar.
Icon
Select an image/icon of a flag or motif. If you want to use your own icon, you can upload the image to the file archive (Appearance -> File archive) and then link to the image by entering the image's URL.
Language
Select the language to be used by the target audience. All active languages of the shop are displayed in the list. If you want to activate more than one language, go to Settings -> Languages.
Country of delivery
Select a delivery country to be managed for the target group. The store's delivery countries are shown in the list. If you want to deliver to more countries, activate this under Settings -> Delivery methods.
Currency
Select the currency to be pre-selected for the target group. All active currencies of the store are shown in the list. If you want to activate multiple currencies, do so under Settings -> Currencies.
VAT selection
Select whether the prices should be displayed including or excluding VAT.
Then repeat this step to create different target groups, for example for different countries and or individuals/businesses.
 with Abicart